As promised I’m coming to you today with a grand tour of the newly completed (almost) nursery.
The day I found out that I was having another girl, I began browsing the internet, particularly Pinterest, for nursery ideas. (Miss Lucy never did get a nursery, and her big girl room is still unfinished – insert sad face – so I was determined to get it right this time.)
Eventually, I found my way to fabric websites, searching through hundreds of designs for inspiration. I never would have guessed I’d go for such a lively color palette, but I was soon attracted to this adorable red and aqua Red Riding Hood fabric by Riley Blake Designs.

The only problem with this fabric was that, apparently, a lot of other people were attracted to it as well. Almost every website I checked was out of stock. Finally, I found a little shop in Idaho with just enough yardage for me to work with, so I ordered it immediately. The fabric accounted for the bulk of my decorating expenses. I’m working on an extremely limited budget, so I had to get creative, filling the rest of the space with some treasured finds, handmade items, and sale pieces.
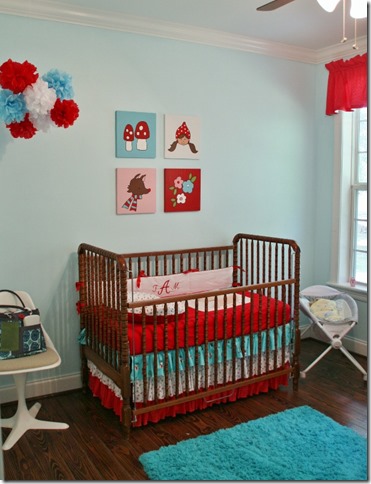
I am using the same crib that both Ty and Lucy slept in. If I had been brave enough, I would have painted it a glossy white, but I just couldn’t bring myself to do it. I think it works OK as is, though. To dress the crib, I decided to make a layered, ruffled skirt – definitely the most labor intensive project of the whole nursery! All those ruffles added up to a lot of work, but I think the results were worth it. I wasn’t too worried about making bumper pads this time. OK, maybe I was too lazy to worry about it. They do make changing the crib sheet a murderous task. Anyway, I opted to make just one monogrammed pad to go along the back rail.
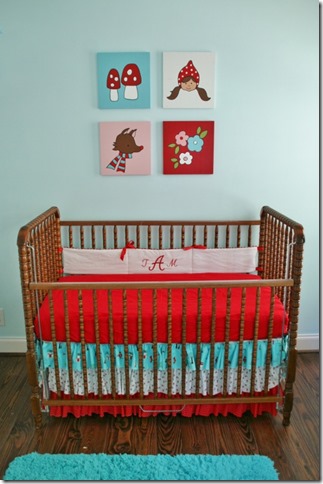
I searched online for several weeks for a rug to go in the nursery. Nothing! Well, nothing in my price range anyway. But wouldn’t you know it, I was wondering through Target one day and found an aqua, shag rug on sale. It was the perfect color, size, and price. Woo hoo!
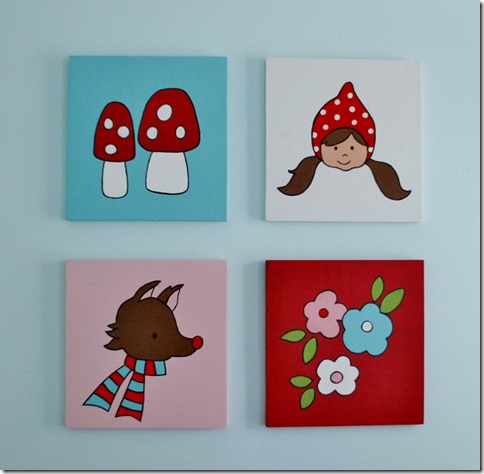
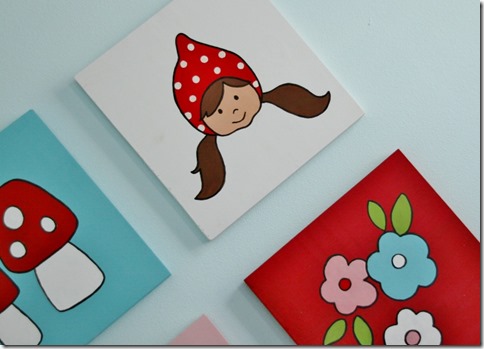
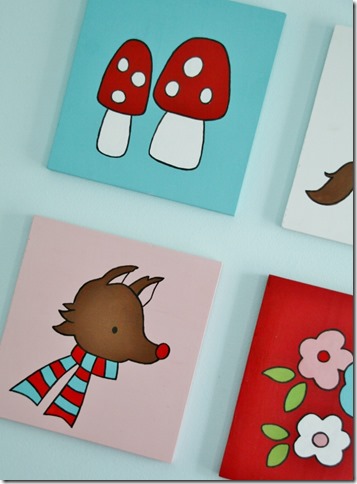
I knew I needed something substantial for the blank wall behind the crib. A few months back, the Tool Man brought home some scraps of 1x12’s. He knew I’d find a use for them. Got to love a man who can see the potential in junk! So I pulled the scraps out of the barn, knocked the dust off of them, and painted some images from the Red Riding Hood fabric on each one. I thought it was a nice way to incorporate more of the theme into the room.
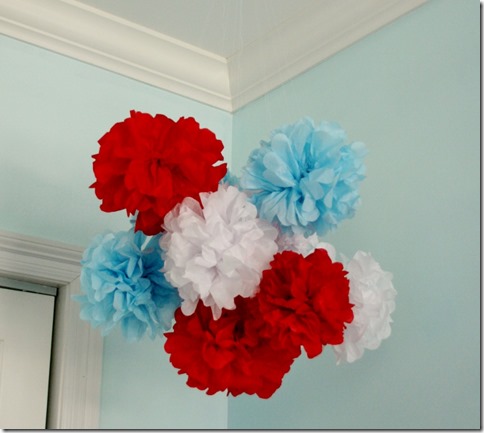
Instead of a traditional mobile to hang over the crib, I opted for the more frugal, stylish, pompom “chandelier.”
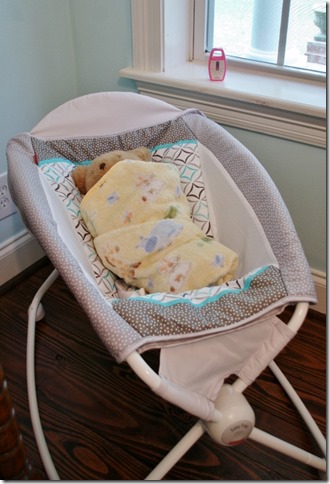
Did you notice the rocker in the corner? It doesn’t really belong in the nursery, but I stuck it in here for the time being. In the meantime, Lucy is using it for her babies. She even remembered to set up her baby monitor nearby. Such a little mama.
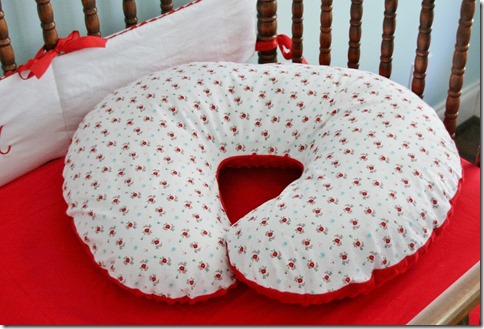
Hands down, the greatest single baby item that I’ve ever owned is definitely my beloved Boppy. Being a nursing mother, I don’t think I could make it without it. I love this pillow! The Boppy covers that I used in the past were very worn, but rather than buying a new, generic one, I wanted to make a cover to coordinate with the nursery. Luckily, I found a super easy tutorial online for a zippered Boppy cover, and I was able to whip this one out in less than an hour. I chose this white, floral fabric for one side and a soft, red minky for the other. I’m so happy with how it turned out. Boppy and I will be spending many hours together over the next couple years.
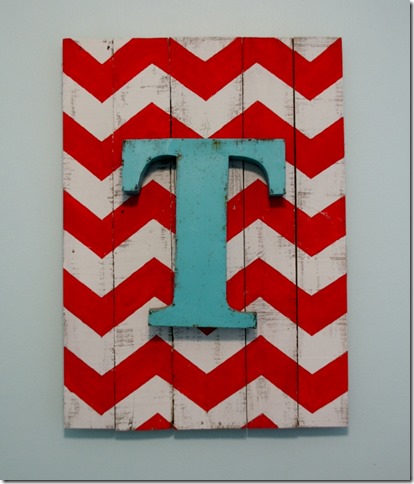
On my trip to Canton back in May, I picked up this metal “T” to use in the nursery. I decided to kick it up a notch by pairing it with this chevron background made from repurposed pallets. Thanks again, Tool Man, for bringing home junk!

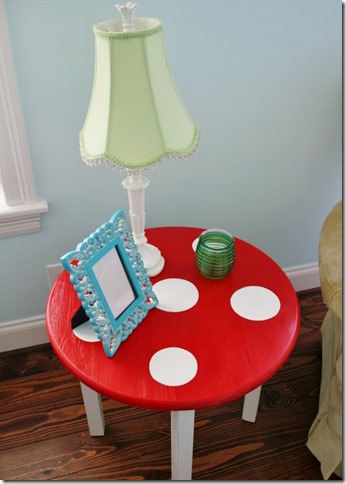
Here are a couple of more examples of the budget-minded décor. The lamp was a clearance find at Hobby Lobby. Originally, I intended to replace the shade, but the green actually coordinated rather well with the fabric, so I left it as is. The table was absolutely free…a dumpster find. Just some sandpaper and paint was all it took to transform it from trash to toadstool. Definitely one my favorite pieces in the room!
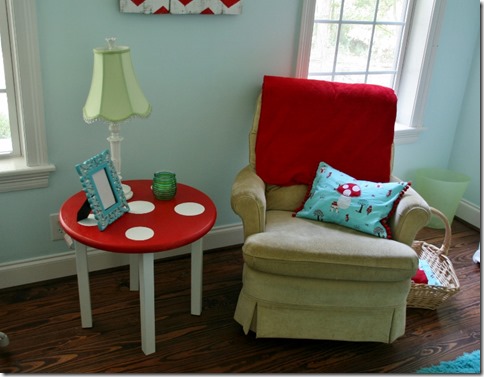
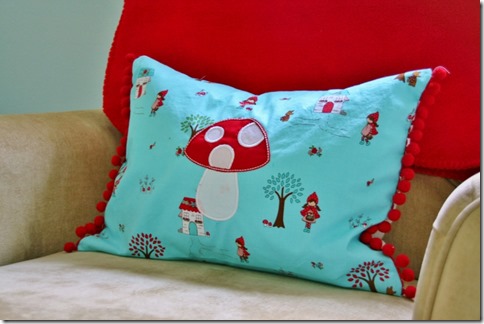
A pint-sized pillow with pompom trim cozies up the rocker. I was so excited when I found this toadstool applique. It’s perfect for the room.
This is the one wall of the room that I would consider unfinished. I plan on adding a few more items to the shelves and hanging a couple of things on the wall.
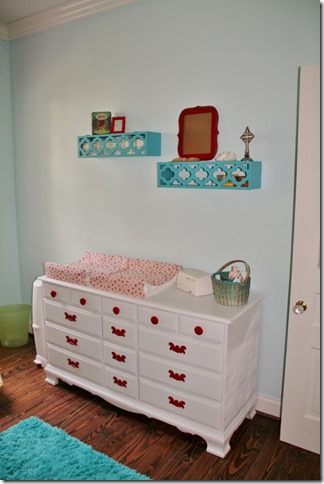
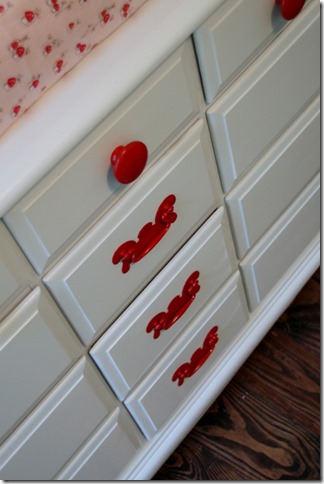
I still have the changing table that I purchased with the crib, but it is such a uni-tasker. I really needed something that would function not only as a changing table but would add a lot of storage to the space as well. Luckily for me, my mom had an extra dresser that she didn’t need. It was an awful, blonde wood with equally awful, brass drawer pulls. A little sanding, a little painting, a changing pad, and voila! An adorable, functional changing table. Each and every one of the 14 drawers is crammed full of baby pretties.
And for those of you who may not have heard, sweet girl does have a name already…
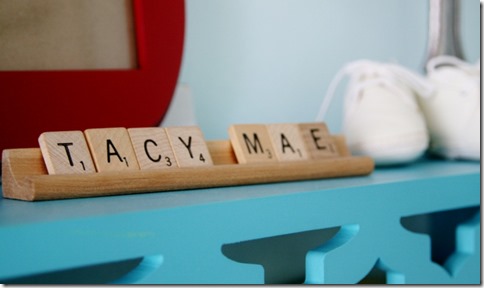
My baby shoes…

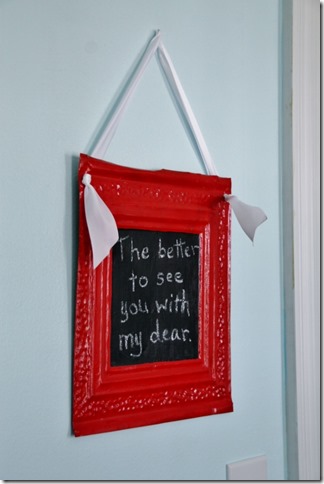
Another treasure from Canton… I picked up this tin ceiling tile for only $2. After receiving a makeover, it found a place in the nursery as a fun little chalkboard.
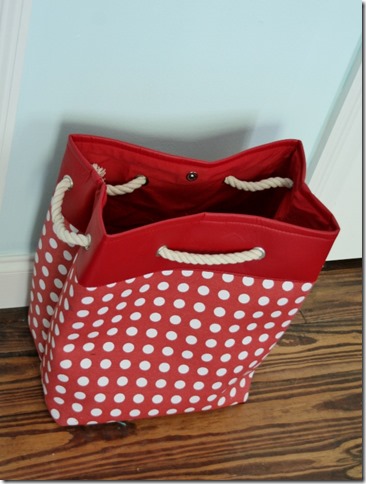
Below the chalkboard a perfectly, polka dotted, bag waits to catch dirty laundry.
The only things that’s missing in this room is Miss Tacy Mae. And it looks like she’ll be here sooner than later!!!
Lindsey

