Everyone who hears these words of Mine and puts them into practice is like a wise man who built his house on the rock. The rain came down, the streams rose, and the winds blew and beat against that house; yet it did not fall, because it had its foundation on the rock. Matthew 7:24-25

Monday, October 31, 2011

It’s Getting to Be that Time Again…

Time for SOUP!

IMG_2321 (2) (800x533)

I’ll admit.  I’m not a fan of the cooler months.  (I know, crazy, right?)  The shorter days, the bare, brown, landscape, the chilly temps…not my idea of fun.

But there are some positive things that come along with the cooler weather.  One being the return of “souper” suppers.  I don’t think there’s an easier or more economical meal to prepare than soup.  Plus, soup is a one-pot-wonder, so there are less dishes to clean when you’re done cooking.  Plus, plus, all you need is a pan of cornbread (or if you’re really in a pinch, a pack of crackers) and you’ve got a complete meal.  Plus, plus, plus…it’s yummy!

I know it’s not really cold out yet, but with the summer we’ve had down here, anything less than 90 degrees is cool, right?  So this weekend I decided to stir up a big ‘ol pot of Taco Soup.  Mmmmmm…..  The recipe I use (ok, so I don’t use a recipe) is so simple that I’m not even sure it qualifies as cooking.  Basically, if you can open a can, you can make this soup. (No pun intended.)

I decided to take a bunch of pictures to go along with this post to get your tummy growling.  And while I was making the soup and taking the pictures, I had an idea about a tip that I could share with y’all.

The Tool Man is always bragging on my onion chopping skills, so I thought I’d show y’all just how I do it.  I’m not saying that mine is the absolute right way, but this method sure does work for me. 

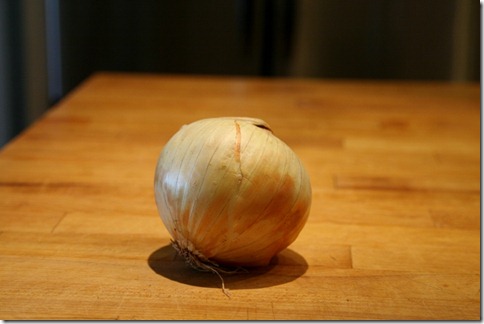
First things first.  Grab yourself an onion.

IMG_2260 (2) (800x533)

Then slice the onion in half from root to top.

Working with one half at a time (I leave the other half cut-side down on the board.  It helps with the whole crying thing) slice off the top end of the onion, about a half to one inch depending on your onion.

IMG_2280 (2) (800x533)

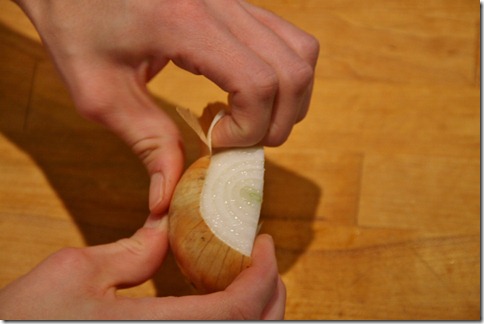
Grab the outer layer or two of onion and peel it off.

IMG_2283 (2) (800x533)

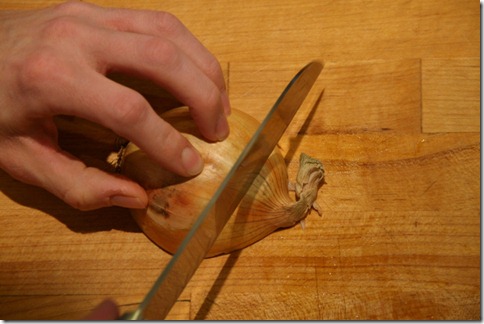
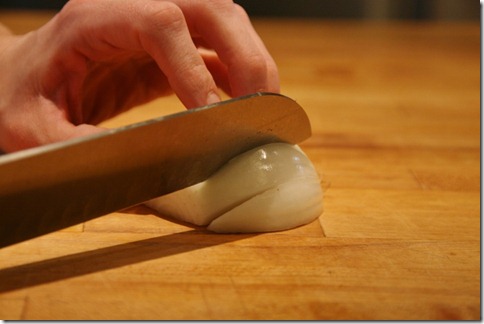
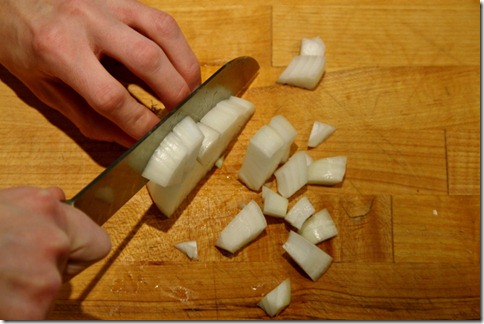
Time to chop!  Please notice how I’m holding my fingers in these photos.  I’ve got my fingertips curved under so my nails are touching the onion.  This protects my fingertips from the blade.  Should the knife slip while I was cutting, my knuckles would stop it before it could cut my finger.

IMG_2268 (2) (800x533)

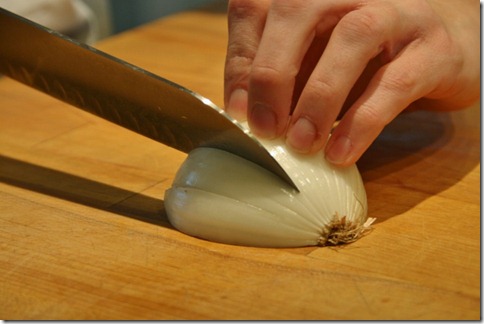
Now, work your way around the onion, with your knife blade aimed at the middle of the onion.  This is the important part:  Leave the root end intact.   Keep the tip of the knife about a 1/4 to 1/2 inch from the root.  This will help hold all those layers together while you’re slicing.

IMG_2269 (2) (800x533)

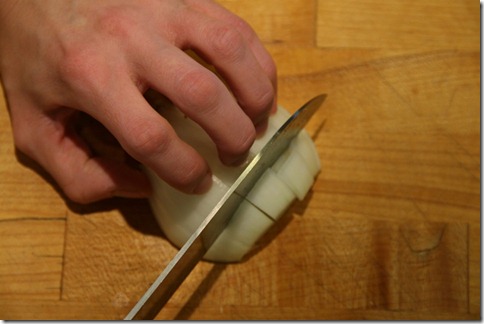
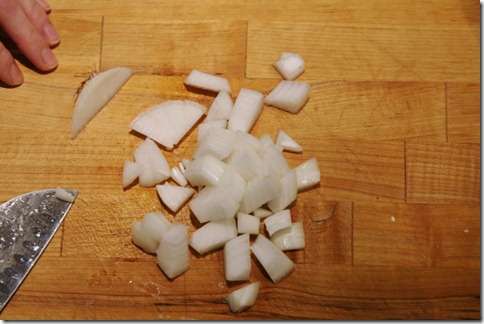
Once you’ve slice all the way around the onion, turn it 90 degrees and begin chopping across the cuts you just made.  If this is starting to sound confusing, just take a look at the pictures.

IMG_2275 (2) (800x533)

IMG_2278 (2) (800x533)

Just keep chopping until you work all the way back to the root.

There!  A perfectly diced onion.  And I still have all 10 fingers.  Woop woop!

IMG_2279 (2) (800x533)

Taco Soup

  • 1 lb. ground beef (or in my case, venison)
  • 1 onion, diced
  • 1 pkg. taco seasoning
  • 1 can Rotel diced tomatoes with green chiles
  • 1, 16 oz. can diced tomatoes
  • 1 can creamed corn
  • 1 can whole kernel corn
  • 2 cans pinto beans
  • Corn chips, sour cream, shredded cheddar cheese
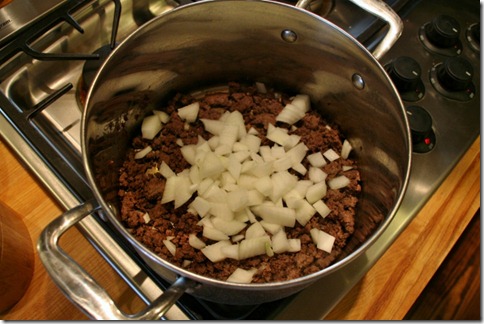
  1. In a large stock pot, over medium heat, brown meat.  Drain if necessary.  Return meat to pan. (Since I used the venison, I had absolutely no fat in my pan. Yippee!)
  2. Add onion and cook 5-7 minutes.

    IMG_2287 (2) (800x533)
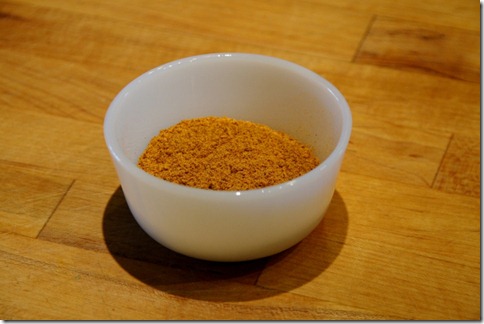
  3. Sprinkle meat and onion mixture with taco seasoning and stir to combine.
    IMG_2259 (2) (800x533)
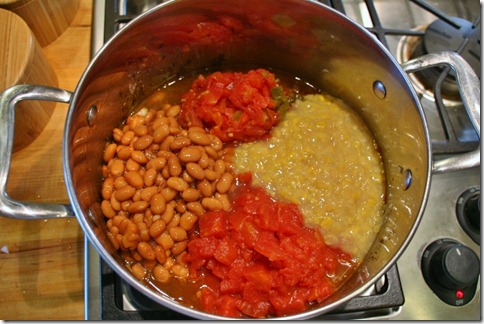
  4. Dump in all the canned ingredients.  Yep, just open them up and dump ‘em in.  No draining required.
    IMG_2299 (2) (800x533)
  5. Add a can or two of water if needed.
  6. Mix well.  Bring to a boil. Reduce heat and simmer on low 1 to 2 hours, stirring occasionally. Add more water if needed.  (See.  I told you this would be easy.)

    IMG_2302 (2) (800x533)
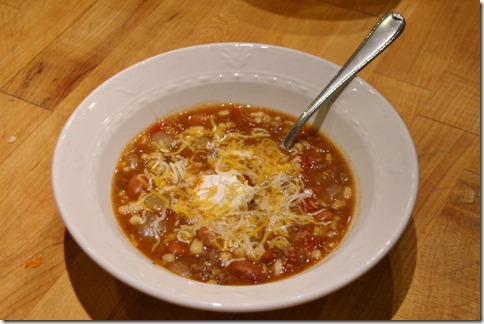
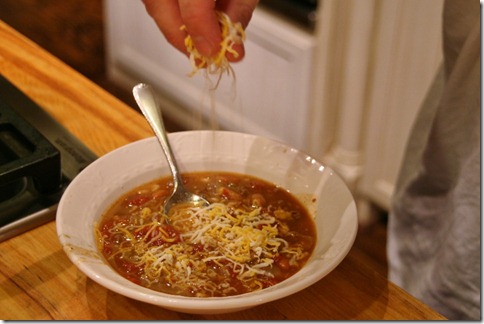
  7. Serve soup over corn chips. Top with cheese and sour cream. If you’re feeling really ambitious, you can bake up a pan of Mexican cornbread to go with your soup.  Yummy!
    IMG_2326 (2) (800x533)

    IMG_2322 (2) (800x533)

Feel free to adjust this recipe any way you like.  I said earlier, it’s not really a recipe, more like a guide.  If you want more meat, add it.  If you want more tomatoes, corn, or beans, just pop open another can or two.  It’s totally up to you.  Just remember, if you add too much more, you’ll want to increase your seasoning too.

Hope y’all enjoy!

Linking to:

Tutorials & Tips @ Home Stories A to Z

Ta-Da Tuesday @ Mommy by Day, Crafter by Night

Lindsey

Tuesday, October 25, 2011

“Dino”-Mite Cake

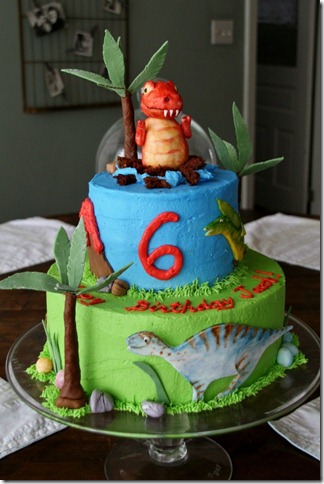
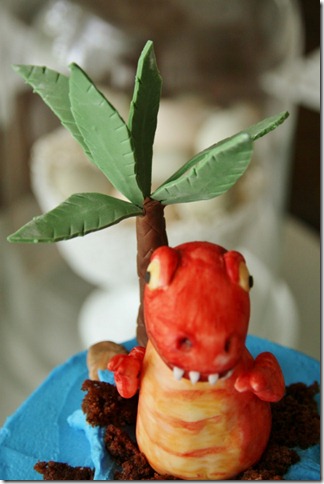
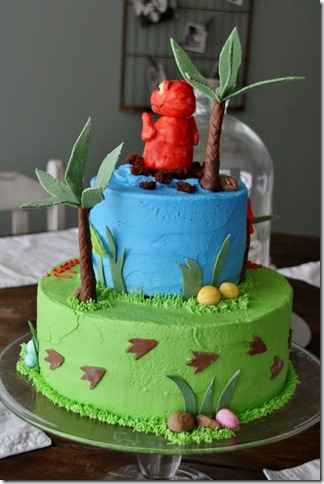
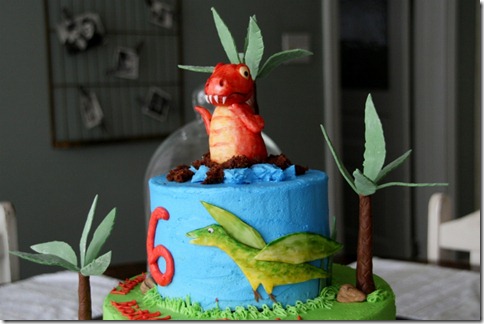
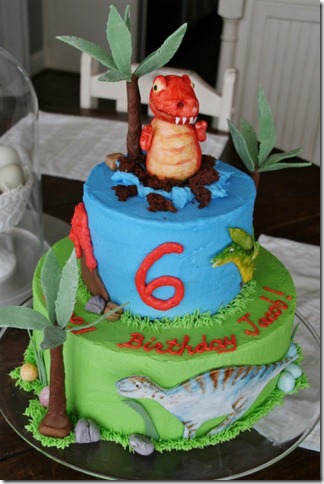
Hello, everyone.  I’m so excited to be able to share this cake with y’all today!  Jacob H. had a birthday last week and requested a cake with a T-Rex popping out of the top layer.  Well, I was more than happy to oblige.

IMG_2217 (2) (534x800)

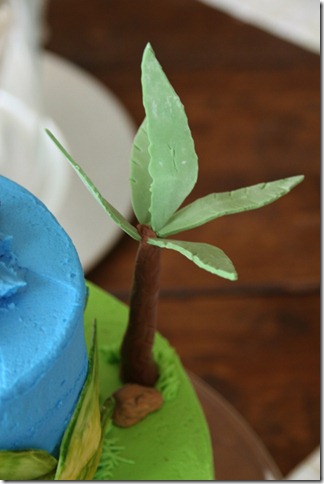
I was so pleased with the way this cake turned out.  Things couldn’t have gone more smoothly.  Often times, during the decorating process, you run across problems here and there, but thankfully, all went well with this cake - no decapitated dinosaurs or fallen trees.  Whew!

IMG_2215 (2) (532x800)

Don’t get me wrong, though.  Just because this cake went according to plan, doesn’t mean it was a walk in the park.  There were a lot of details to complete in this cake.  I estimate it took between six and seven hours to finish it.

What!! Seven hours??

Yes, most folks don’t realize just how long it takes to decorate a cake. You cake decorators out there can attest to this.  There’s time spent buying materials, mixing and baking, making the icing, and prepping the cakes for decorating (which includes:  leveling, filling, crumb-coating, and stacking the cakes.)  Once the icing is colored, the cakes must be iced smooth (a task in and of itself.)  Only then can the decorating begin.  On a cake like this one, with free-standing decorations and hand-painted details, work must be done days in advance to give the pieces time to dry and harden before adding them to the cake.  And don’t think that once the cake is completed that the work is done.  NOOOOO way!  Now it’s time to clean up!

IMG_2238 (2) (533x800)

I took tons of pictures of this cake, and I’m sharing many of them with you.  (I hope you don’t get bored.)  One thing about cake decorating…no matter how hard you work, and how good the cake turns out, it’s all going to be completely and utterly destroyed in a matter of minutes.  So you’ve got to take pictures if you want to remember your work.

IMG_2222 (2) (533x800)

I’m thankful that the Tool Man was around to offer his services while I was working on this cake.  Not only did he babysit, but he helped me cut out these dinosaur tracks.

IMG_2220 (2) (800x533)

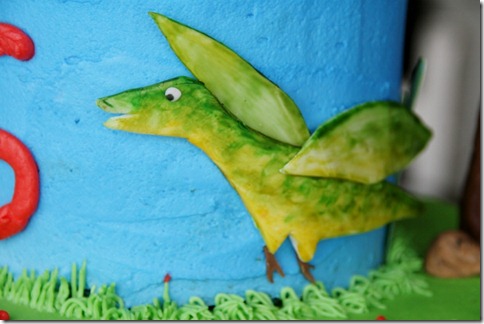
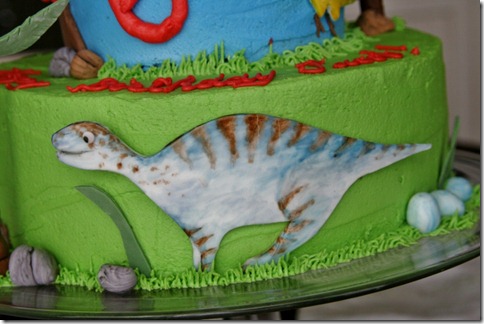
I made the two dinosaurs on the face of the cake by cutting the silhouettes from rolled fondant and using icing color thinned with vanilla extract to paint the details.  I’m really beginning to love this technique.  The results are so unique.

IMG_2241 (2) (800x533)

IMG_2221 (2) (800x533)

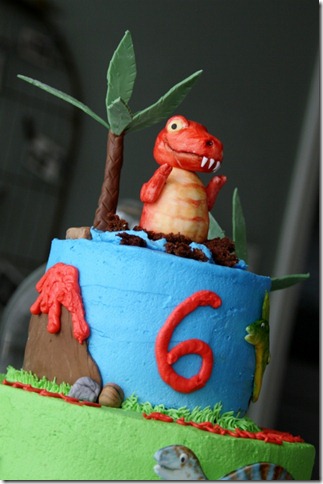
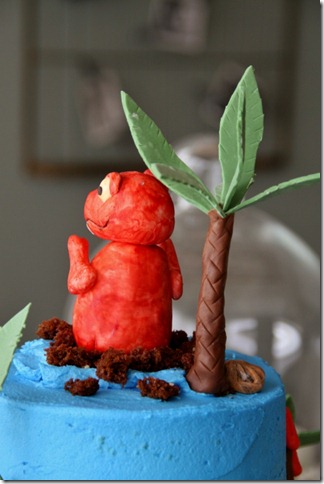
For the T-Rex, I sculpted his body out of Rice Krispy Treats and covered it with fondant.  Then I hand-painted him with icing color.  I didn’t actually tear up the top layer of the cake here.  I took some of the crumbs that I had shaved off the cakes when leveling them and sprinkled them around the T-Rex.

IMG_2231 (2) (800x533)

IMG_2225 (2) (533x800)

IMG_2237 (2) (533x800)

IMG_2227 (2) (800x533)

IMG_2232 (2) (533x800)

Well, that one’s done, but no rest for the weary.  Remember I told you I had a really BIG project coming up this week?  It’s more cake…a lot more cake.  Thirteen to be exact!  Yep, 13 Hershey Bar cakes!  Thankfully they don’t have to be decorated, so it won’t be too difficult a task.  But still…13 cakes?

Linking to:

I’m Lovin It @ Tidy Mom

Weekend Showoff Party @ Ladybird Ln

Freestyle Friday @ Happy Hour Projects

Lindsey
Saturday, October 22, 2011

Pumpkin Eater

Last Sunday evening, I thought that I was going to have a week with no cakes to bake, but that all changed Monday morning.  I got two phone calls within minutes of one another from ladies needing birthday cakes for their children.

Typically, I’m a little nervous about having to decorate multiple cakes on the same day, but as I get more experience under my belt, I’m gaining a little confidence.  So this week I was looking forward to the challenge of turning out two adorable cakes.

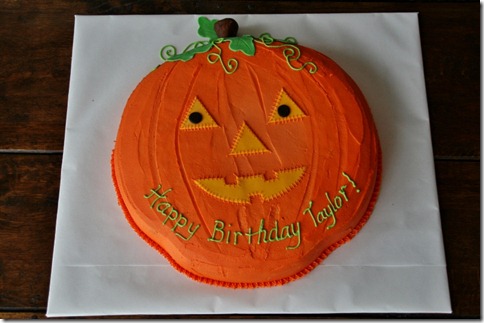
The first cake I’m sharing with y’all was for 11-year-old Taylor.  She had a hayride for her party, so her mom requested a fall themed cake.

IMG_2243 (2) (800x532)

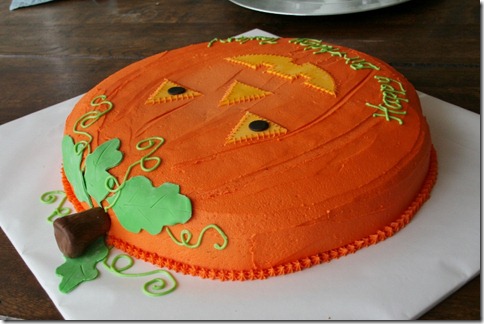
I’ve mentioned before that I’m not a fan of the shaped cake pans (you know, like Elmo, or teddy bears, or Barbie.)  They take up too much real estate in my kitchen.  I’d rather use a standard round or rectangular pan and convert it into something that will work by carving and piecing together.  So, for this pumpkin cake, I baked a 14” round cake and just carved out a few “hookie-do’s” to make it more pumpkin-ish.  (You laugh, but you know exactly what I’m talking about, don’t you?)

IMG_2248 (2) (800x533)

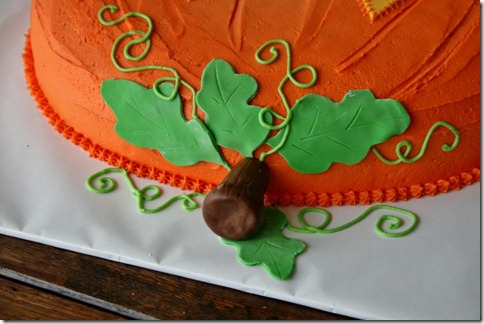
My trusty assistant, the Tool Man, took pity on me this weekend and helped me make a few details for the cakes.  He sculpted the pumpkin’s stem all by himself.  Thanks, Tool Man!

IMG_2251 (2) (800x533)

I’m gonna hold off on showing you my other cake for now, just in case I can’t think of anything else to blog about this week.  I probably won’t be able to wait long though.  The cake turned out soooo cute, and I can’t wait to share it with y’all.

Lindsey

Thursday, October 20, 2011

More Fashion

Hi there!  Just popping in to share a few more pics of some dresses I’ve sewn for Lucy.

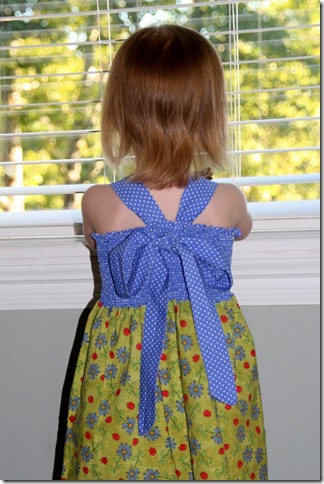
This first dress is one that I made this spring.  The bodice of the dress is shirred using elastic thread, a technique I first learned about when I made this dress for Lucy a couple of years ago.  The elastic thread yields such impressive results.  My mom almost didn’t believe me when I told her that I made this dress, but really, I did!

IMG_2172 (2) (533x800)

IMG_2174 (2) (533x800)

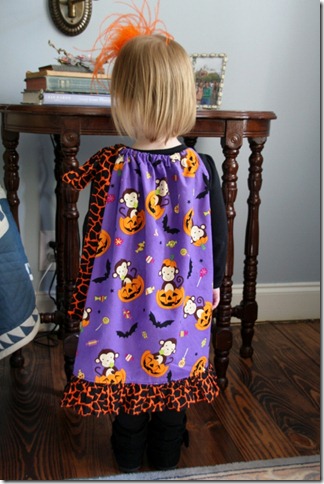
Next, I want to show y’all the Halloween frock I made Lucy.  Let me start by saying that she was a more-than-willing participant in this photo shoot.  There’s a first time for everything, I guess!

IMG_2205 (2) (557x800)

I bought these boots for Lucy this weekend at Target.  She loves them!!!  She actually got two new pair of shoes, and on our way home from the store she had to try on both pairs.  What can I say?  The girl loves her shoes.

Lucy insisted that I take a picture of her back.

IMG_2187 (2) (533x800)

You may have noticed that this is a pillowcase dress.  OK, so I didn’t actually use a pillowcase, but the dress is made the same way.  I added the ruffle across the bottom for little interest.  For the shoulder ties, instead of using ribbons, I made a drawstring from coordinating fabric, ran it through the neckline, and tied it on one shoulder.

IMG_2194 (3) (533x800)

I tried to play around with editing these photos, but I really need a better program on my computer.  I got a new laptop for Christmas last year and have yet to install any photo editing software on it. 

IMG_2194 (2) (533x800)

IMG_2207 (2) (533x800)

Love, love, love this picture!!!  Lucy could so be on that show “Toddlers & Tiaras.”  She’s certainly got the looks…and the attitude!

IMG_2209 (2) (800x478)

Tuesday, October 18, 2011

Monkey Cakes

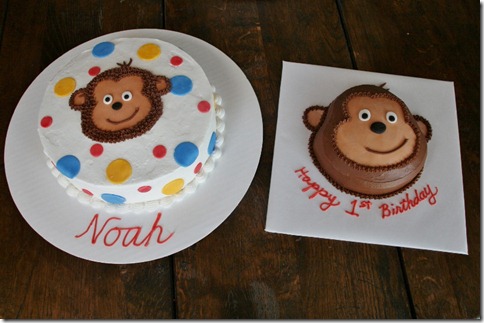
Take a look at the cute little cakes I made this weekend.

IMG_2066 (2) (800x532)

One cake for baby Noah and one cake for his family and friends.

IMG_2051 (2) (800x533)

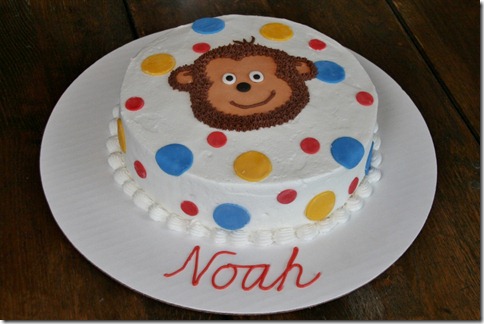
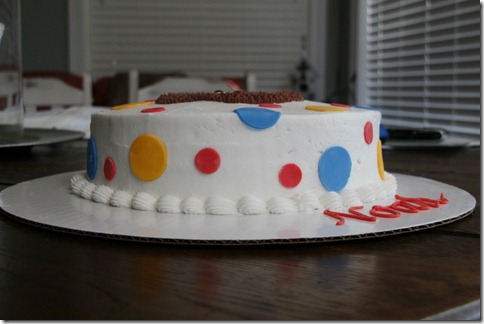
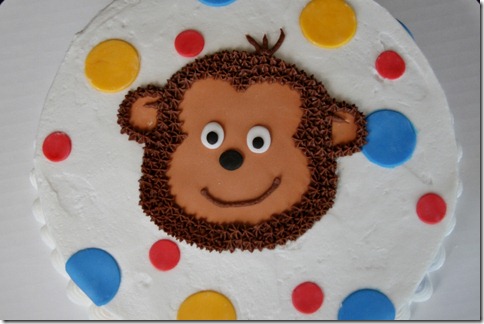
This cake was filled and iced with buttercream, and the polka dots and monkey’s face were cut from fondant.

IMG_2052 (2) (800x533)

IMG_2055 (2) (800x533)

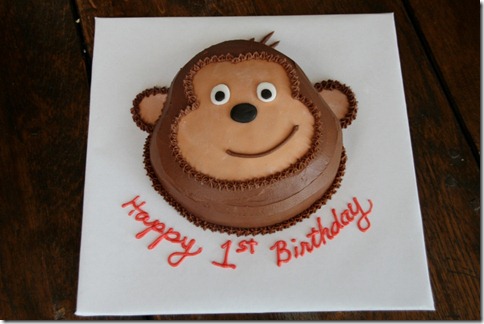
Here’s the smash cake for the birthday boy.  I heard he absolutely loved his first real encounter with sugar.  Can’t say that I blame him.

IMG_2056 (2) (800x533)

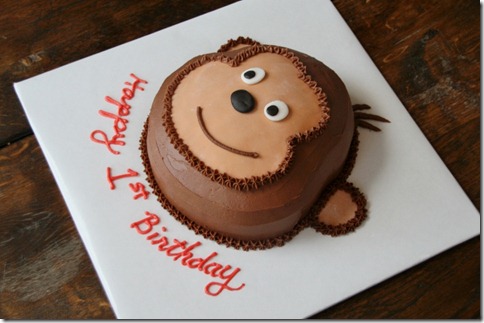
I carved the monkey out of a regular 6” round cake.  His “fur” is chocolate icing, and his face and ears are made of fondant.  I loved the way he turned out, so clean and absolutely adorable!

IMG_2062 (2) (800x532)

This week I have a dinosaur cake and a fall themed cake to make.  And next week it looks like I’m going to be involved in something REALLY BIG.  The plans have not been completely finalized yet, so I’ll have to fill y’all in on the details later.

I’ve also begun another home improvement project (as if I really have time to tackle something else.)  So far, the Tool Man and I are loving the way the project is turning out.  It may take a week or two to complete it, but when I’m done I promise I’ll share.

Saturday, October 15, 2011

Fashion Show–Part 1

Perhaps I was a bit naïve to think I could snap a picture of Lucy in all of her new holiday frocks in one sitting.  Not happening!!  So let’s just take things one step at a time, shall we?

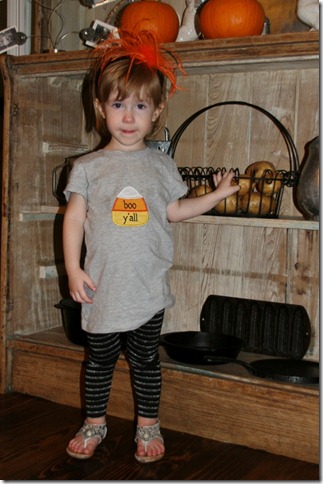
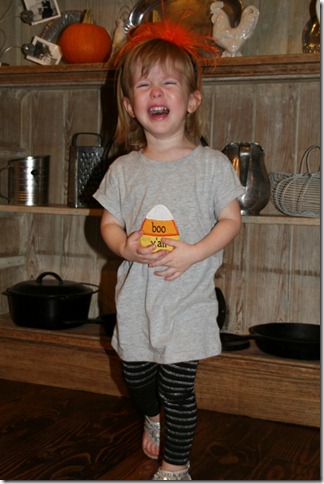
We’ll start our little fashion show with a Halloween t-shirt I embroidered for Lucy.  I downloaded this candy corn pattern from Planet Applique. (By the way, if you have a machine, P.A. has some really cute appliques at really good prices.  You should check it out.)

IMG_2134 (2) (531x800)

This applique came plain, but I added the “Boo Y’all” text to “southern-ize” it.  Some of you may remember my other “Boo Y’all” project I made last year.  You can check that out here.

This is a prime example of why I had to keep the photo shoot short and sweet.  A first-class meltdown for no apparent reason.

IMG_2139 (2) (533x800)

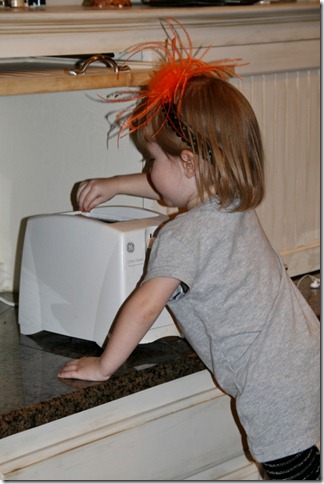
When her crying jag was over, Lucy decided she wanted an Eggo.

IMG_2141 (2) (533x800)

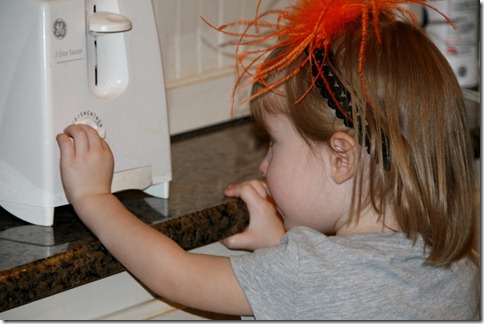
“I do it myself.”  Although, she’s not quite strong enough to push the slider (I don’t know what the correct term is) all the way down by herself.

IMG_2144 (2) (800x533)

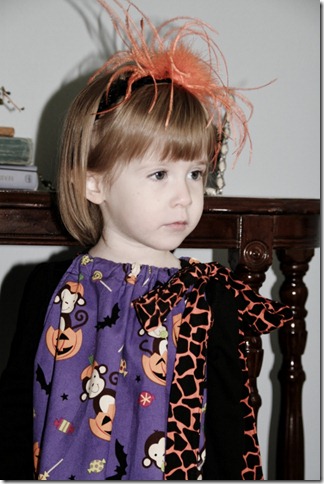
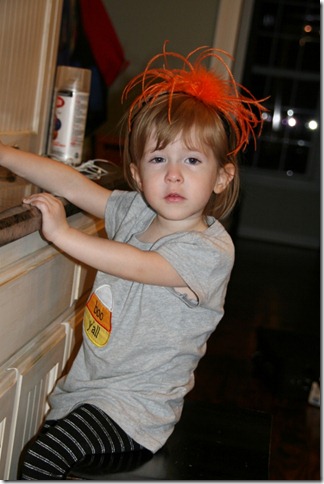
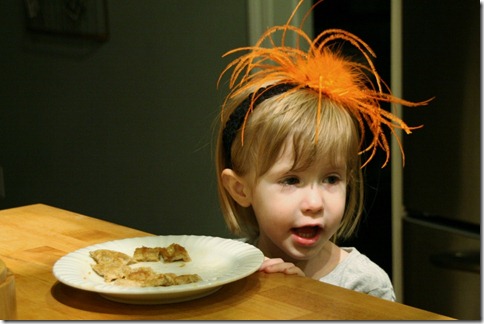
How do you like that hair accessory?  Looks like a gi-normous orange spider landed on her head.  I wasn’t sure that Lucy would go for it.  She’s never really worn a head band before.  But apparently she didn’t mind it, because she wore it until time for bed.

IMG_2147 (2) (533x800)

I took advantage of the fact that she was distracted by food to snap a few more pictures of her.

IMG_2148 (2) (533x800)

IMG_2163 (2) (800x533)

Maybe next week I’ll get brave enough to try another photo shoot with Lucy.  I also have another cake I need to share with y’all, so check back soon.

Lindsey